

TL;DR: How to transcribe audio fast (and when Google Docs is enough)
If you need a fast transcript, you can try TicNote Cloud for Free and get a clean, searchable draft in minutes; Google Docs Voice Typing is enough when you're okay with a rough real-time transcript you'll edit later.
You've probably hit this: you can't just upload an MP3 into Google Docs and get a transcript. That means more setup, more cleanup, and more missed punctuation and speaker changes. A dedicated tool like TicNote Cloud can handle longer files, then add summaries and translation in one place.
Google Docs can do:
- Turn speech into text live (best for simple, single-speaker audio)
- Produce a "good enough" draft you can copy, format, and fix
Google Docs can't reliably do:
- Upload-and-transcribe audio files with speaker labels and timestamps
- Consistent punctuation and formatting without manual edits
Use Google Docs when:
- You want quick notes from a lecture or meeting recap
- You're drafting an outline from a voice memo
Choose a dedicated transcription tool when:
- The recording is long, has multiple speakers, or has accents
- You need summaries, translation, cross-file search, or consistent formatting (covered later in the alternative workflow section)
How to use Google Docs to transcribe audio (Voice Typing) step by step
Google Docs can turn speech into text in real time. In this walkthrough, you'll use Voice typing to get a clean first draft fast, then pause to fix obvious errors as you go. This is the core method behind "google docs voice typing transcribe audio" for meetings, notes, and short interviews.
1) Open Google Docs in Chrome and start a new doc
- Open Google Docs and start a Blank document.
- Click the title area at the top left and name your file. This makes it easier to find later.
- Click inside the page and place your cursor exactly where you want the transcript to begin.
Keep the Docs tab in front. If you switch tabs or click away, dictation can stop or miss words. Also, Voice typing in Google Docs is available only in Chrome, per Google Docs Editors Help — Use voice typing in Google Docs.
2) Turn on Tools → Voice typing and pick a language
- In the menu bar, click Tools.
- Click Voice typing…. A small microphone panel appears on the left side of the document.
- Click the language dropdown on that panel.
- Choose the language and, if offered, your dialect (for example, English (US) vs English (UK)).
Language choice matters more than most people think. If the spoken audio is in Spanish but the setting is English, you'll get wrong words, weird spelling, and missing names.
3) Start and stop transcription without losing progress
- Click the microphone icon to start. You'll see it change state to show it's listening.
- Speak clearly, or play your audio at a steady volume.
- Click the microphone again to stop anytime. Your text stays in the doc.
A safe beginner rhythm is:
- Transcribe 30 to 90 seconds
- Stop
- Fix the biggest mistakes (names, numbers, obvious misheard words)
- Start again
This keeps errors from piling up. It also helps if you bump the mic button by accident.
Mini checklist for a clean first run:
- Quiet room, doors closed
- Steady audio volume (don't blast it)
- Correct language selected
- Cursor placed at the right spot
- Docs tab stays active while you transcribe

What do you need before you start (browser, mic, permissions, language)?
Before you transcribe audio in Google Docs, set up four basics: Chrome, a Google account, the right microphone, and the right language. This takes two minutes and saves you from the most common "it's not picking up sound" issues.
Chrome + Google account basics
Google Docs Voice Typing works best in Chrome. Other browsers may show the menu but fail to capture audio, or they may drop permission prompts.
Make sure you have:
- A Google account signed in
- Access to Google Docs (docs.google.com)
- Chrome updated to a recent version
If you're new to transcription workflows, this guide on simple ways to transcribe meetings and interviews helps you pick the easiest method for your situation.
Microphone selection (OS vs browser)
You need the correct mic in two places: your device settings and Chrome.
- Check the mic at the OS level
- Windows: Settings → System → Sound → Input (pick your mic, raise input volume)
- macOS: System Settings → Sound → Input (select mic, confirm input level moves)
- Check Chrome permissions
- In Chrome, click the lock icon in the address bar when you're in Docs.
- Set Microphone to "Allow," then pick the right input device if prompted.
Quick test before a long session: say one sentence at normal volume, like "Testing Google Docs voice typing for one minute." If the mic meter moves and the text appears, you're ready.
Internet and language support notes
Voice typing needs an internet connection. If your Wi-Fi is unstable, expect missing words or sudden stops.
Also, choose the closest language and region match in Tools → Voice typing (for example, "English (United States)" vs "English (United Kingdom)"). Do a 20 to 30 second test pass first, then adjust the language if names or accents keep coming out wrong.
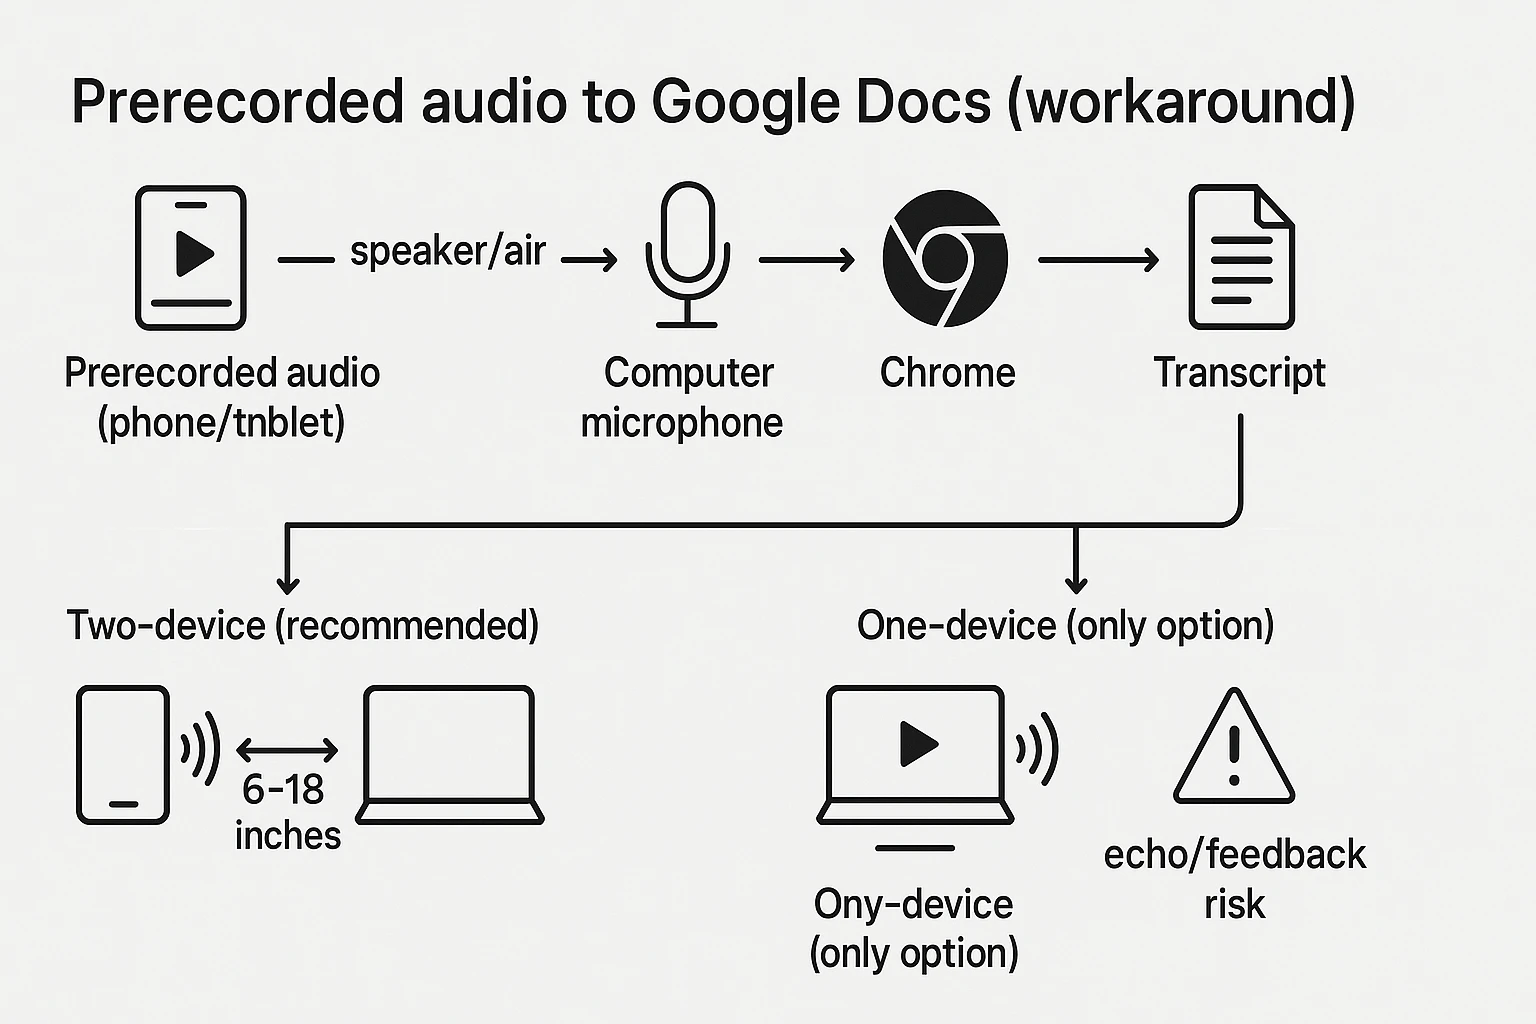
How do you transcribe a prerecorded audio file with Google Docs (workaround)?
Google Docs Voice Typing can't import an MP3 and transcribe it directly. But you can still use Google Docs to transcribe audio by playing the recording out loud so your computer's mic "hears" it, then Voice Typing turns that sound into text.
Two-device method (recommended)
This is the cleanest beginner workaround for "transcribe audio to text google docs." You play the recording on a phone or tablet, while your laptop runs Google Docs Voice Typing.
- On your computer, open a Google Doc in Chrome.
- Turn on Voice Typing (microphone icon) and pick the right language.
- On a second device, open your recording and get it ready to play.
- Place the phone or tablet speaker about 6 to 18 inches from your computer mic.
- Set volume so it's clear and loud enough, but not distorted.
- Hit play on the recording, then start Voice Typing.
Why this helps: the mic hears one clean sound source at close range. That cuts room echo and reduces "double audio" (your mic picking up both speaker sound and reflected sound).
Workflow diagram (text-only): Prerecorded audio (phone) → air/speaker → computer mic → Chrome → Google Docs Voice Typing → transcript
One-device method (when it's your only option)
If you only have one device, "transcribe mp3 in google docs (workaround)" still means you're using audio playback plus Voice Typing. There is no direct upload-to-transcribe feature inside Docs.
Options that don't require any downloads:
- Use built-in audio routing if your system offers it (for example, selecting an input that captures system audio).
- If you can't route audio, play the file through your device's speakers and select the correct input mic in your system sound settings.
Do a 10-second test first. Feedback and echo can happen fast on one device. If you hear a squeal or the text turns into nonsense, lower speaker volume, move the device, and try again.
Headphones vs speakers (why it matters)
Headphones often block the mic from hearing the recording. That means Voice Typing won't "hear" enough audio to type.
Speakers do the opposite. They make the audio easy for the mic to capture, but they can add room echo.
Use this simple rule:
- Two-device method: use speakers on the phone or tablet.
- One-device method: avoid headphones unless you can route system audio into the mic input.
Decision table (pick your method):
| Option | Best for speed | Accuracy and speakers | Multi-speaker and cleanup |
| Live dictation (talk into mic) | Fastest for notes | Good in quiet rooms | Weak for interruptions |
| Prerecorded workaround (play audio to mic) | Fast setup, slower playback | Mixed, depends on echo | Limited speaker labels |
| Android Live Transcribe | Fast for in-person speech | Good for live audio | Better live than recordings |
| Dedicated tool | Fast at scale | Stronger on noisy audio | Better diarization and exports |
If your recording is a voice memo, this guide on transcribing voice memos on iPhone and Android can help you choose the cleanest path before you start typing fixes by hand.
How can you improve Google Docs transcription accuracy?
Google Docs Voice Typing can be surprisingly usable, but accuracy depends more on your setup than your voice. If you treat it like a quick "recording session" with clean audio and a steady pace, you'll spend far less time fixing the transcript.
Audio quality checklist (fix what the mic "hears")
Use this as a fast pre-flight check:
- Pick a quiet room. Close windows and silence notifications.
- Kill steady noise: fans, AC vents, buzzing lights, keyboard clicks.
- Keep volume steady. Don't whisper, then suddenly get loud.
- Avoid clipping (distortion). If audio sounds "crunchy," lower the volume.
- Keep a consistent mic distance (about a hand's width).
- Prefer clear, single-channel speech (one voice, one mic source).
Best setup for prerecorded audio (workaround friendly):
- Turn off "audio enhancements" that change speech (noise suppression, "voice boost," automatic gain) if they make voices sound watery or robotic.
- If you have one, use a simple external mic close to the speaker. Even a basic headset mic often beats a laptop mic.
- If you're playing audio from a speaker into the mic, keep the speaker pointed away from the mic to reduce echo.
Speaking pace and accents or dialects
Voice typing works best with clear, spaced speech.
- Speak a bit slower than normal.
- Use short sentences. Pause between thoughts.
- Don't talk over other people. Overlap confuses the model.
- Choose the closest language and dialect in Voice Typing settings.
Accents and mixed speakers can lower accuracy because the system has less consistent sound patterns to match. If something matters, say it twice. Restate names and key numbers. For example: "This is Alex Chen. A L E X. Chen."
If you're doing lots of interviews, it helps to follow a repeatable interview transcription workflow so nothing gets missed.
When to split long recordings into chunks
For long lectures or meetings, split into 10 to 20 minute parts. Short chunks are easier to control and easier to edit.
A simple workflow that stays clean:
- Transcribe one chunk.
- Do a quick cleanup pass right away (obvious words, names, numbers).
- Add speaker labels and timestamps.
- Move to the next chunk.
If you need higher accuracy often and want less cleanup, a dedicated transcription workflow (covered later) can help.
How do you add punctuation, paragraphs, and basic formatting while transcribing?
Google Docs Voice Typing can handle basic punctuation and layout while you talk. You say the punctuation out loud, and Docs types it in. It's not perfect, but it speeds up rough transcripts.
Punctuation and command cheat sheet (common phrases)
Voice Typing supports spoken punctuation and a few simple layout commands. Try these common phrases:
- "period"
- "comma"
- "question mark"
- "exclamation point"
- "new line"
- "new paragraph"
- "colon"
- "open quote" and "close quote"
Command behavior can change by language and accent. So test your key commands in a short warm-up first.
Structuring a clean transcript (speaker labels, timestamps)
If you want a transcript you can skim, add speaker labels and light timestamps. Use a simple pattern you can keep consistent:
Speaker 1 (00:00): … Speaker 2 (00:24): …
Action items:
- …
Decisions:
- …
Rules of thumb:
- Add timestamps every 1 to 2 minutes, or at topic changes.
- If you don't know who's talking, label them "Speaker A" and "Speaker B" and stick to it.
- If you later confirm names, use Find and replace to update them fast.
For more ways to turn messy notes into something searchable, follow a clean meeting transcription workflow that includes consistent labels and sections.
Fast cleanup workflow (search/replace, spellcheck)
Do one quick edit pass in this order:
- Fix names and key terms first (Edit > Find and replace).
- Add paragraph breaks where the speaker or topic changes.
- Fix missing punctuation and obvious run-on sentences.
- Add or standardize speaker labels.
- Skim for missing "not," wrong numbers, and misheard names.
Stop when you hit your goal:
- Publish-ready: clean paragraphs, correct names, clear speakers, light timestamps.
- Notes-only: readable gist, main actions, and decisions are correct.
What are the common problems and fixes for Google Docs Voice Typing?
Google Docs Voice Typing is handy, but it can fail in a few common ways. Below are quick fixes for when voice typing is missing, your mic won't work, or the tool stops mid-transcript. If you're learning How to Use Google Docs to Transcribe Audio, this checklist will save you the most time.
Voice typing is missing or greyed out
If Tools > Voice typing doesn't show up (or you can't click it), it's usually a context or browser issue.
Try these fast checks:
- Confirm you're in Google Docs, not a PDF viewer or a locked preview.
- Use Chrome (Voice Typing is most reliable there).
- Make sure you're signed in to the right Google account.
- Check for restricted mode: some work or school accounts limit features.
- Reload the page, then try again.
- Create a brand-new doc (File > New > Document) and test Voice Typing there.
- Disable extensions that touch audio, privacy, or scripts (ad blockers, script blockers, dictation add-ons). Then reload.
Mic not detected or wrong input device
When you see "No microphone" or it types nothing, fix the audio path first. Work from the system outward.
- Check your computer's default input
- Windows: Sound settings > Input
- macOS: System Settings > Sound > Input
- Speak and watch the input level meter. If it doesn't move, Docs can't hear you.
- Check Chrome permission for Docs
- In Chrome, open your Doc.
- Click the lock icon near the address bar.
- Set Microphone: Allow for docs.google.com.
- Pick the right mic (especially with headsets)
- If you have multiple mics, set your preferred mic as the system default.
- Close other apps that may "take over" the mic (Zoom, Teams, recording tools).
Quick Bluetooth fix (common):
- Turn Bluetooth off and on.
- Disconnect and reconnect the headset.
- Set it as default input, then restart Chrome.
Voice Typing stops transcribing or uses the wrong language
This often happens when the tab loses focus, the mic times out, or speech detection flips languages.
Common causes and fixes:
- Unstable internet: move closer to Wi-Fi, or switch networks.
- Tab switching: keep the Doc tab active while it listens.
- Long sessions: transcribe in short chunks (5 to 10 minutes), then pause.
- Wrong language: click the mic tool and re-select the language before you start.
- Background audio: lower speaker volume and reduce room noise.
- Stuck state: stop Voice Typing, refresh the page, then start again.
30-second "Voice Typing not working" checklist
- Chrome + signed in?
- Docs tab active?
- Mic allowed for docs.google.com?
- Input meter moves in OS settings?
- Right input set as default?
- Language re-selected?
- Restart Chrome if Bluetooth is involved?
What about privacy and sensitive recordings when using Google Docs voice typing?
Google Docs Voice Typing can be a quick way to get words on the page. But if the audio is sensitive, pause first. Once it's text, it's easier to copy, search, and share.
What to consider before transcribing confidential audio
Before you transcribe, do a fast risk check:
- Ownership: Who owns the recording and the transcript? Your org, a client, or a vendor?
- Consent: Did everyone agree to be recorded and transcribed? If unsure, get a clear yes.
- Sensitive data: Does it include health info, legal details, passwords, or client numbers?
- Quality needs: Is a rough transcript OK, or do you need a clean, publish-ready file?
If any item feels high risk, use stricter handling or a different workflow.
Workspace and sharing settings basics
A transcript in Google Docs is controlled by sharing settings. The main options are:
- Link sharing: Anyone with the link may get access, depending on the setting.
- Roles: Viewer can read, Commenter can add notes, Editor can change text.
Text is easy to forward or paste into email or chat. That's why transcripts can leak faster than audio. Keep the doc in the right Drive location (personal vs work), and avoid broad link access.
Safer handling habits (local copies, access control)
Use simple habits that reduce mistakes:
- Name files clearly: Add "CONFIDENTIAL" or the project name.
- Remove extra identifiers: Replace full names with roles when you can.
- Least access: Share with specific people, not "anyone with the link."
- Check before sending: Re-open Share and confirm who can view or edit.
- Back up if required: Keep a local copy if your policy demands it.
- Delete drafts: Remove test docs and old versions you won't use.
Some dedicated transcription tools offer different privacy controls and retention options. If you handle sensitive work often, it's worth comparing those settings to your needs.

Step-by-step transcription workflow with an alternative tool (example: TicNote Cloud)
If Google Docs Voice Typing feels too manual for your workflow, a dedicated tool can help you go from audio to clean notes faster. Below is a simple, beginner-friendly workflow using TicNote Cloud as an example, focused on better structure, faster cleanup, and easier reuse across many files. If you want to preview what it is first, visit TicNote Cloud's homepage before you start.
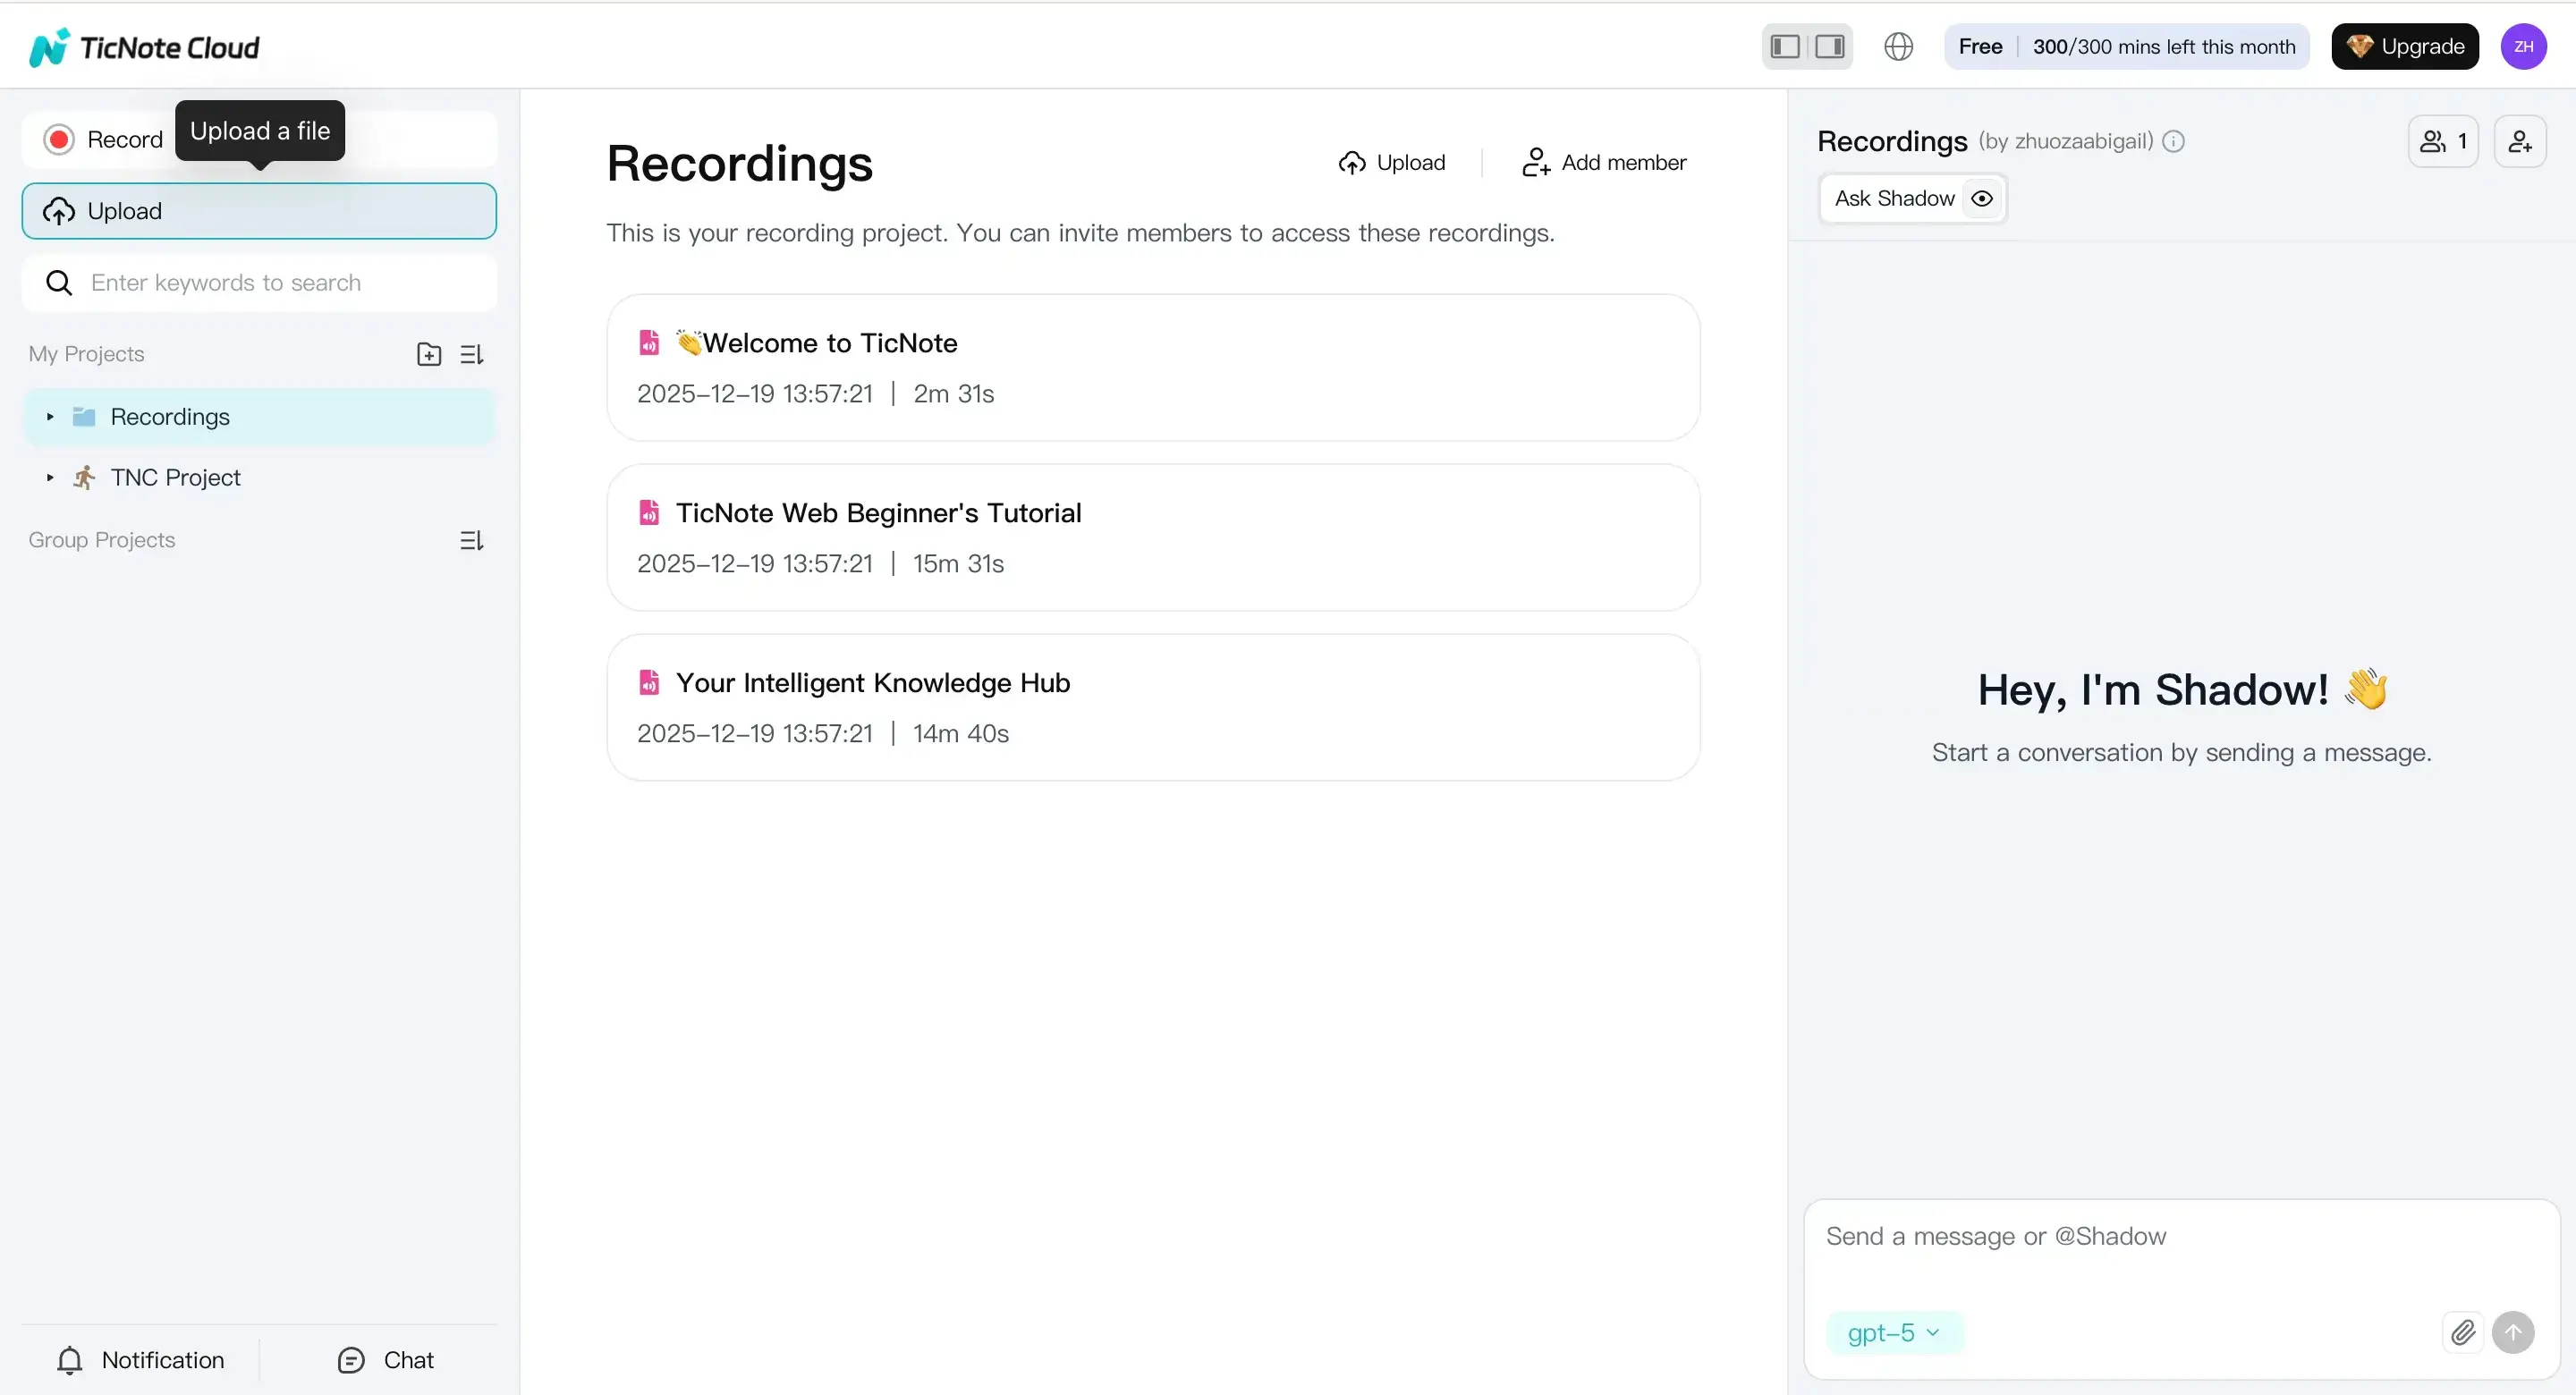
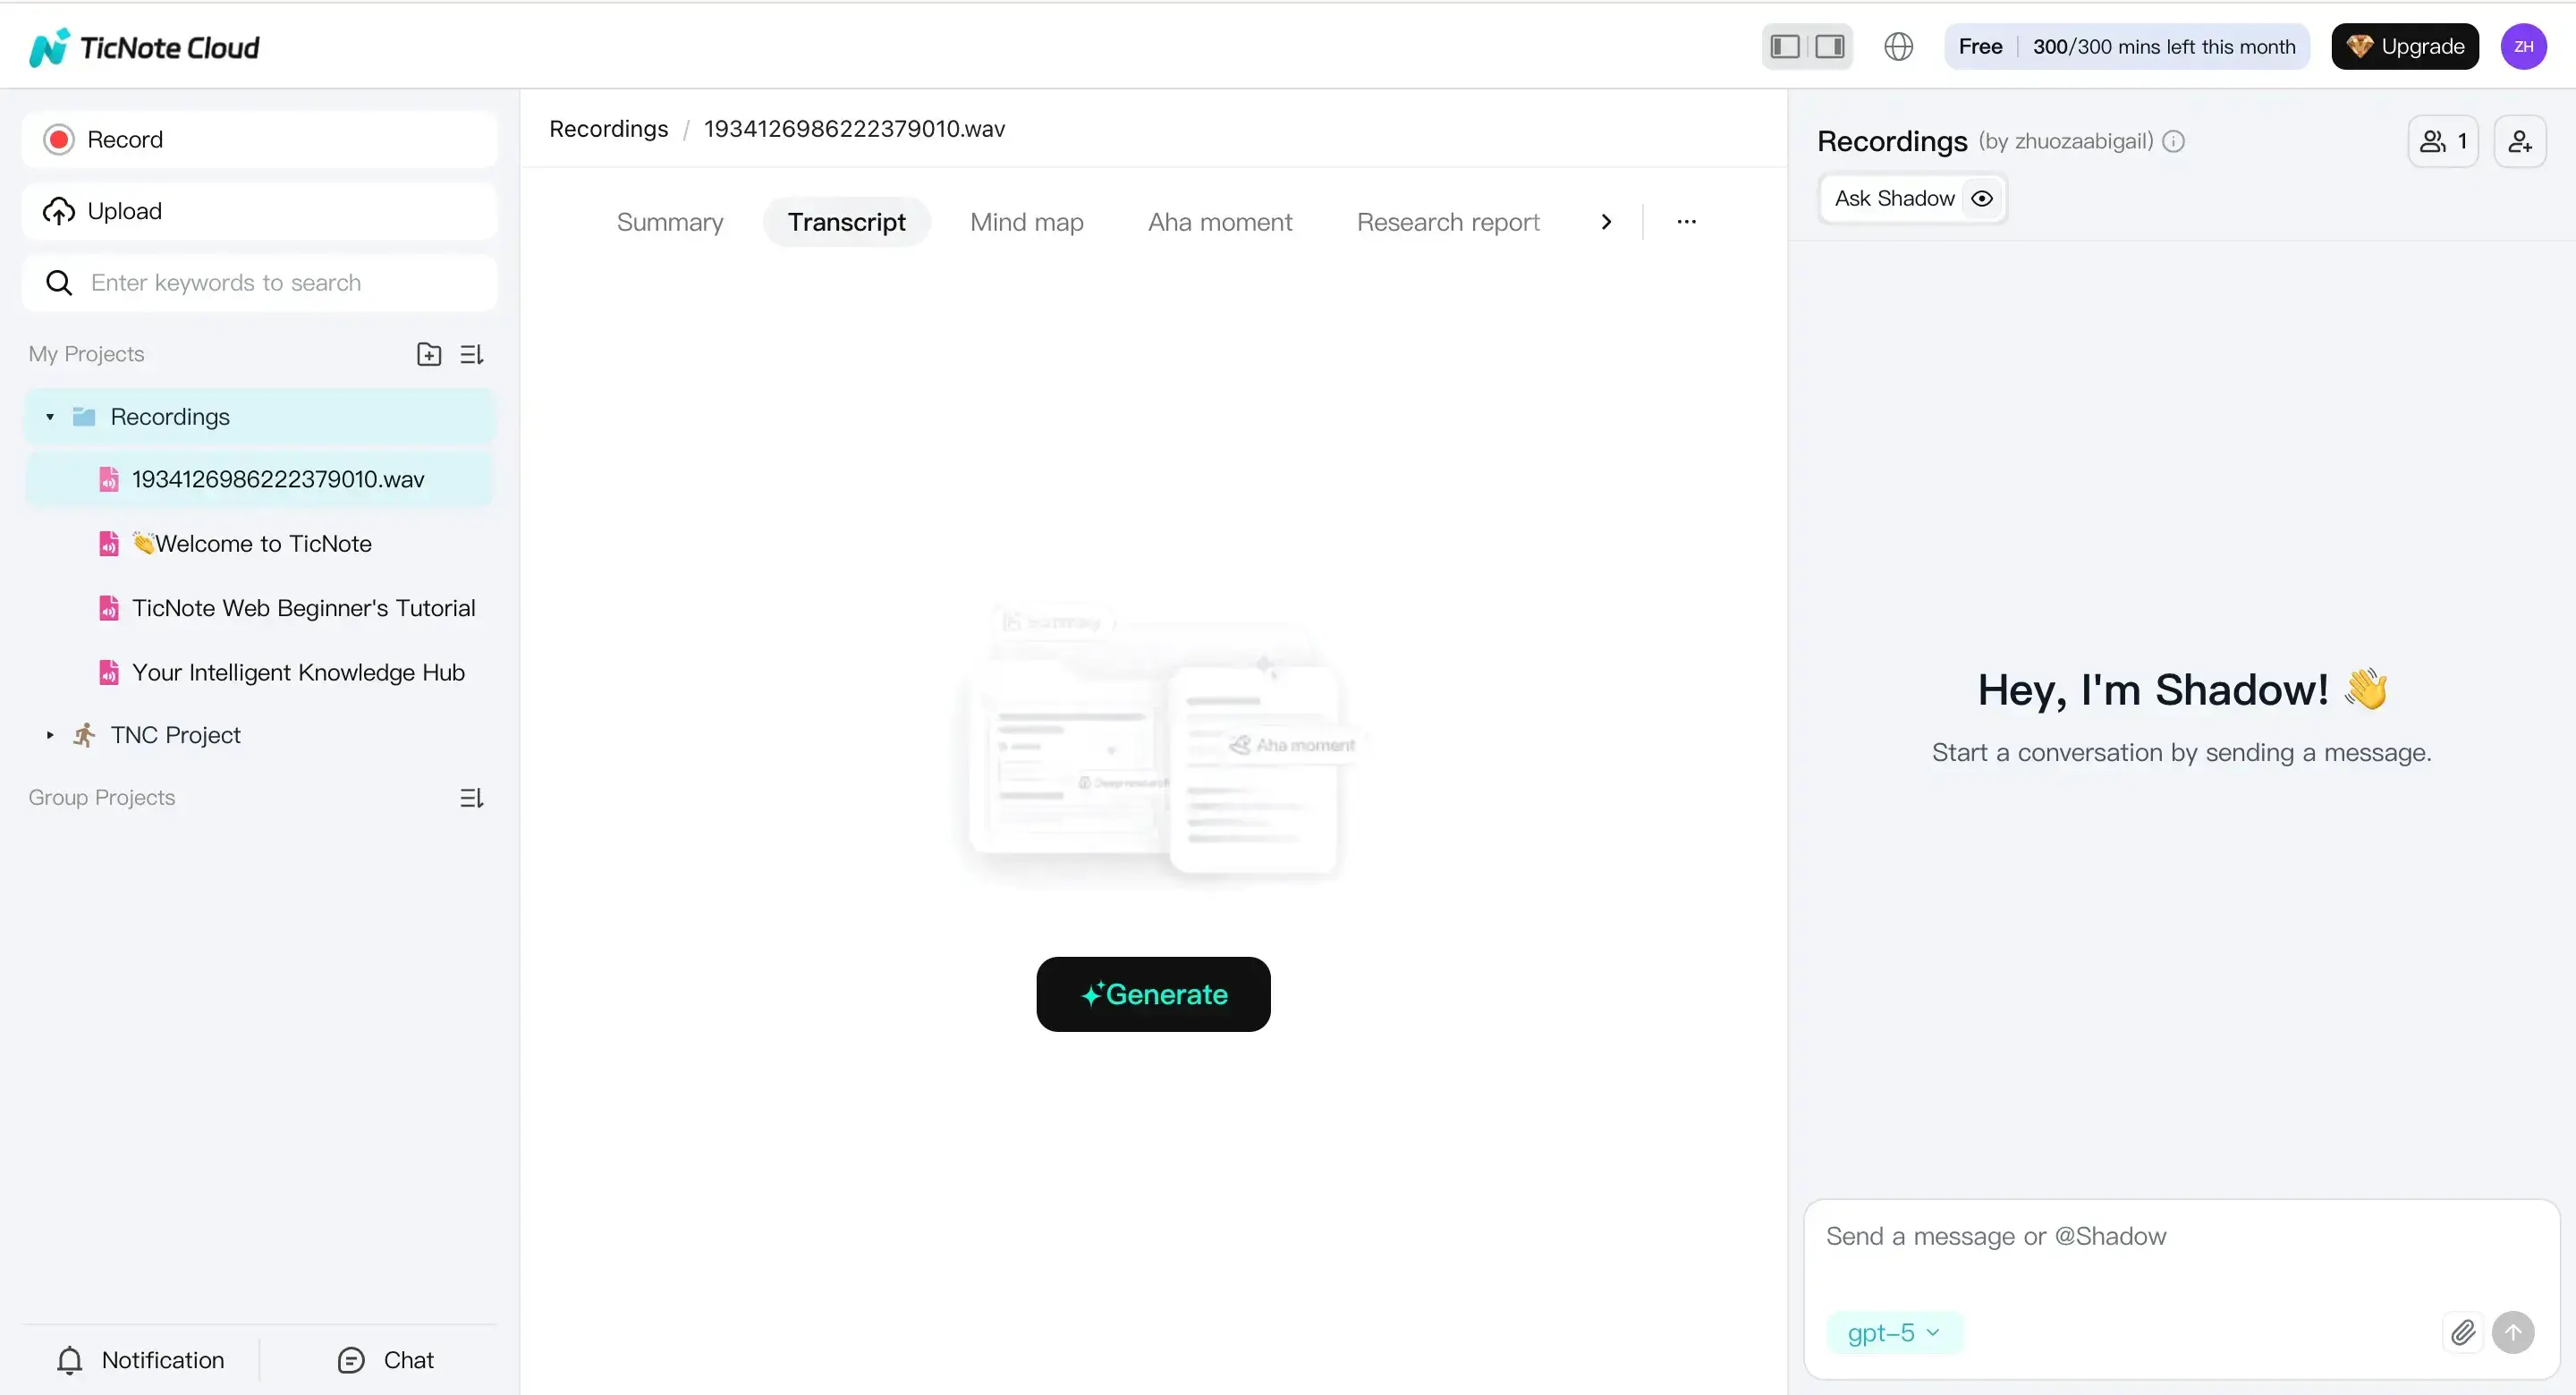
Upload or record to start a transcription (Web)
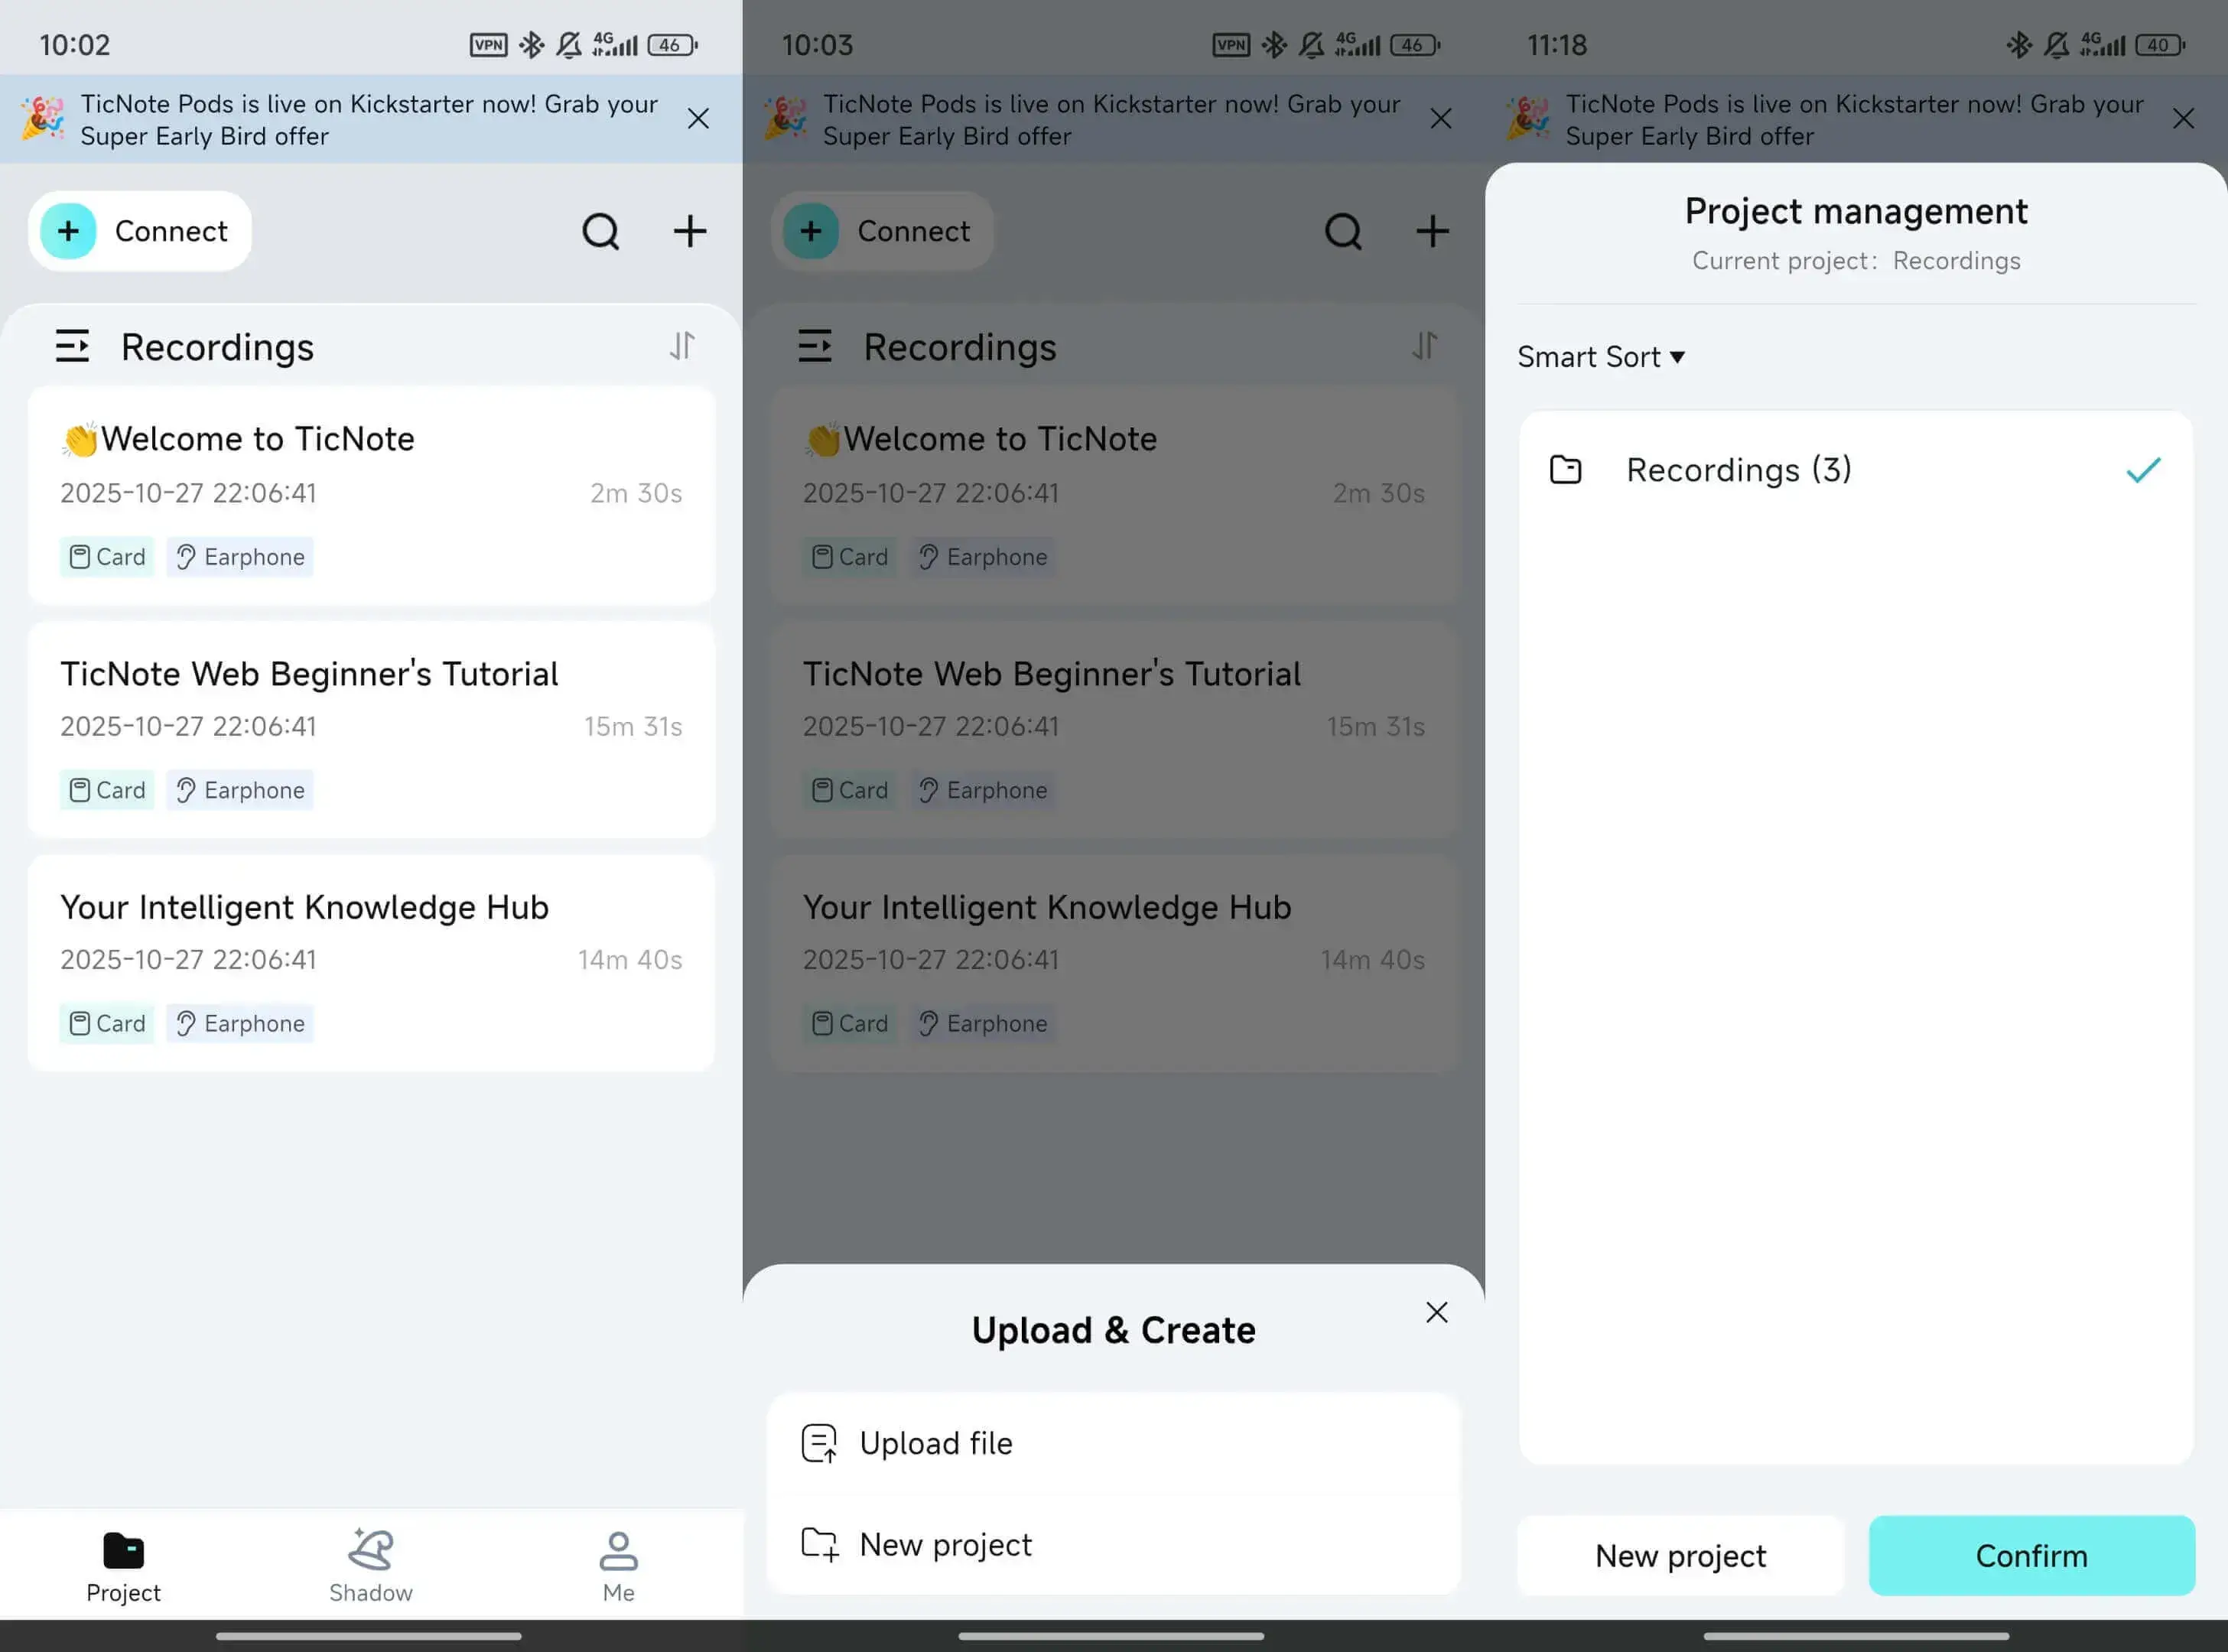
Start in the TicNote web studio. Create a new project (or pick an existing one) so your files stay grouped by class, client, or research topic.
Next, click Upload and add your audio or video file. Use clear names like: Client A discovery call 2026-02-05 or BIO101 lecture week 3. Good names make search and reuse much easier later.
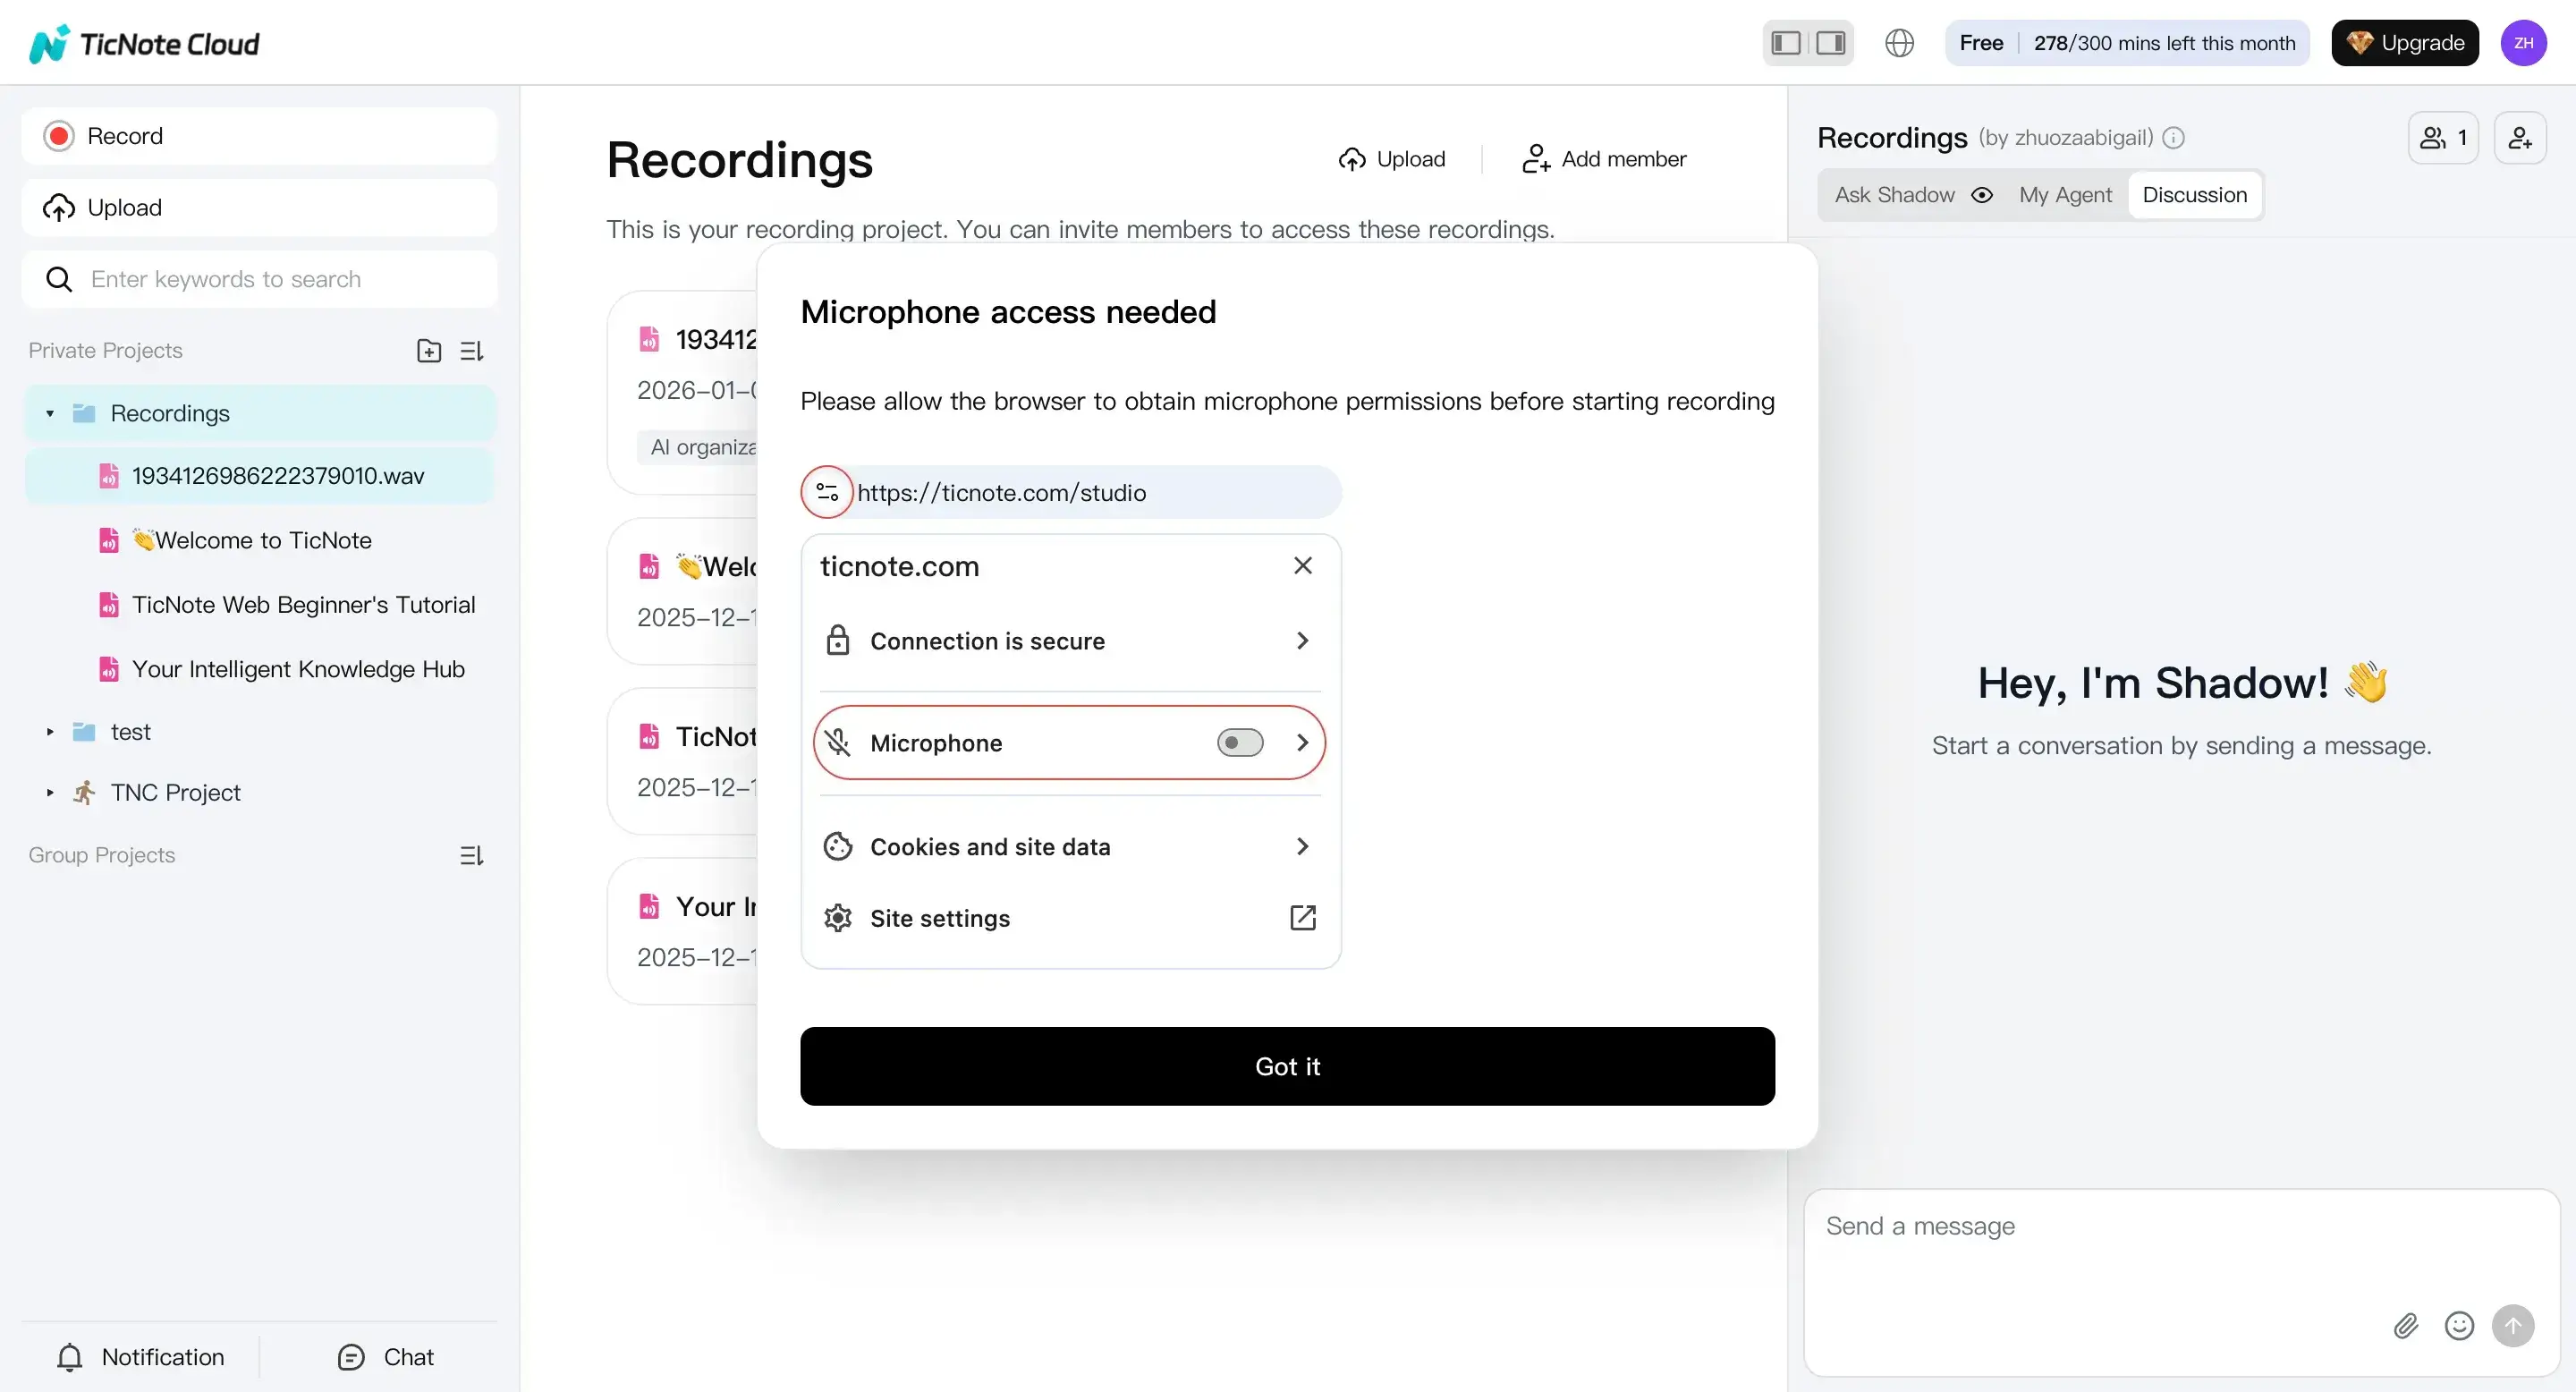
If you're capturing something live, click Record instead. The first time, your browser may ask for mic access. Enable it so the recording can start.
When you stop recording, TicNote saves it automatically. From there, you can start your transcript.
Prepare to transcribe (languages + model choices)
Open your file from the left panel. Then go to the Transcript tab and click Generate.
In the next step, pick the transcription language and the AI model, then confirm to begin.
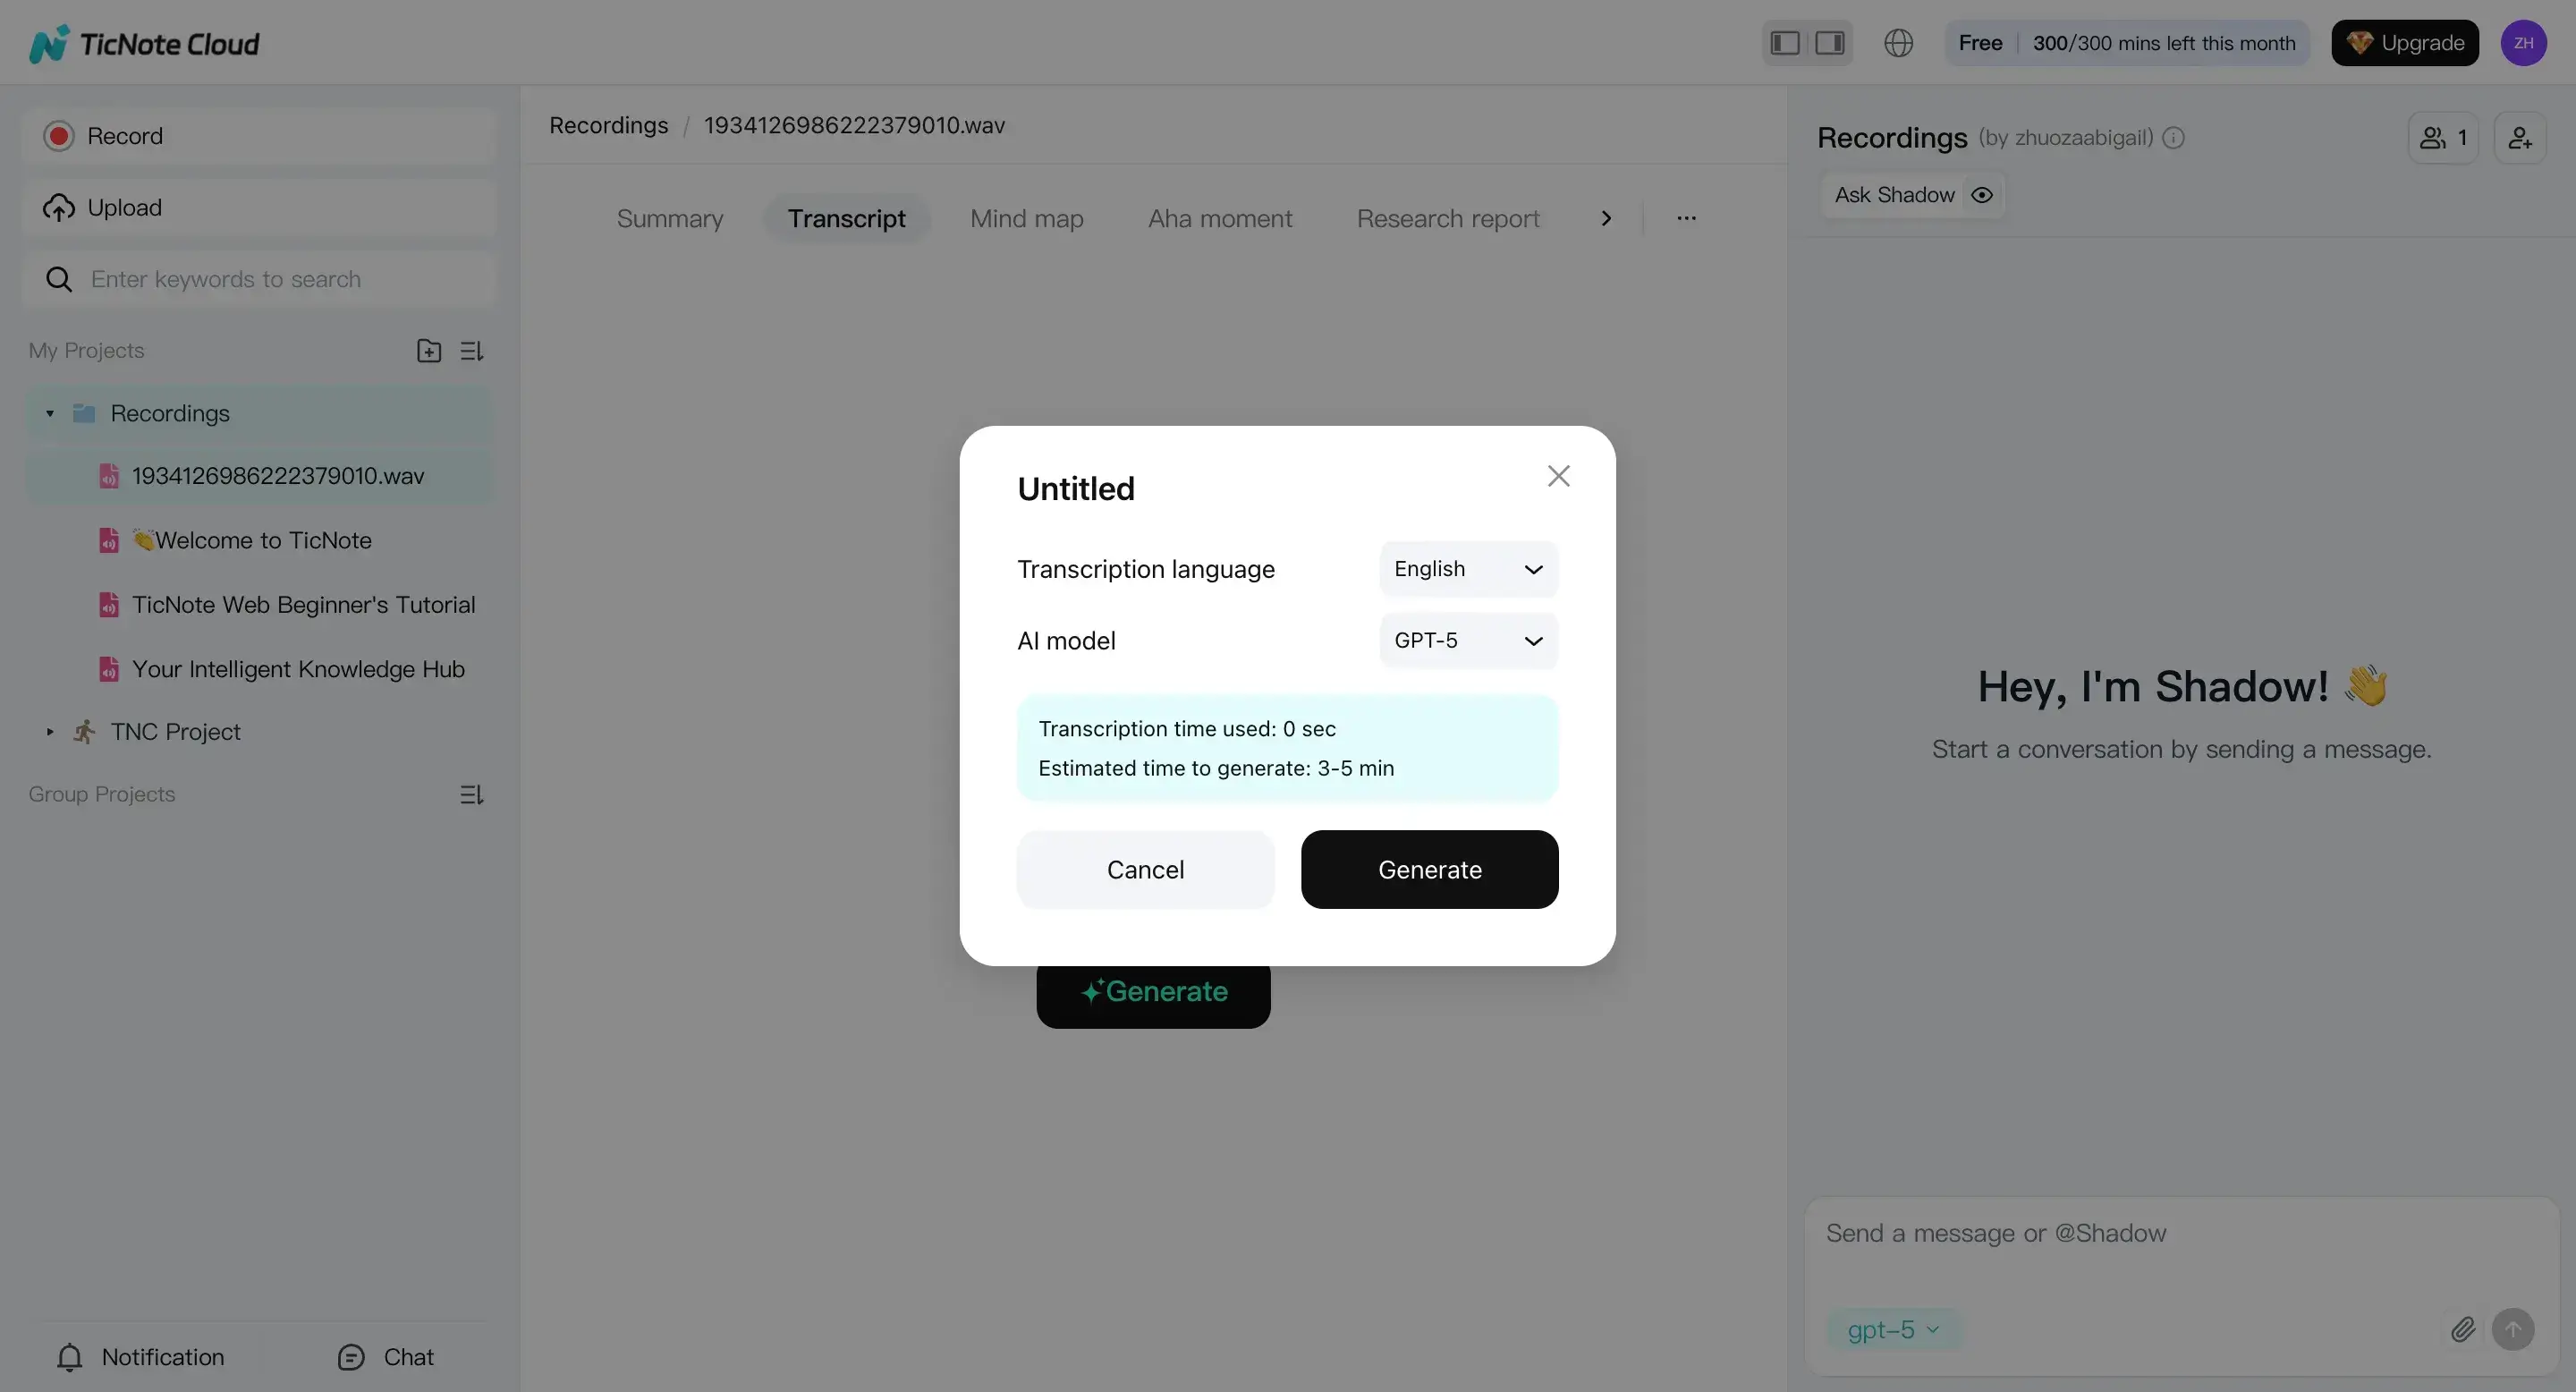
For multilingual meetings, keep it simple:
- If most people speak one language, select that as the main language.
- If the conversation switches often, choose multilingual options if your plan and settings support it.
When in doubt, start with the main language. You can fix names and key lines later during review.
Review, edit, and generate helpful outputs (summary, translation, search)
Once the transcript is ready, read it like you're doing a quick quality check. Fix proper nouns (names, companies, places), clean up obvious misheard words, and remove repeated filler.
You can edit directly in the editor. You can also use Shadow AI to help with edits, or ask questions about what the transcript says.
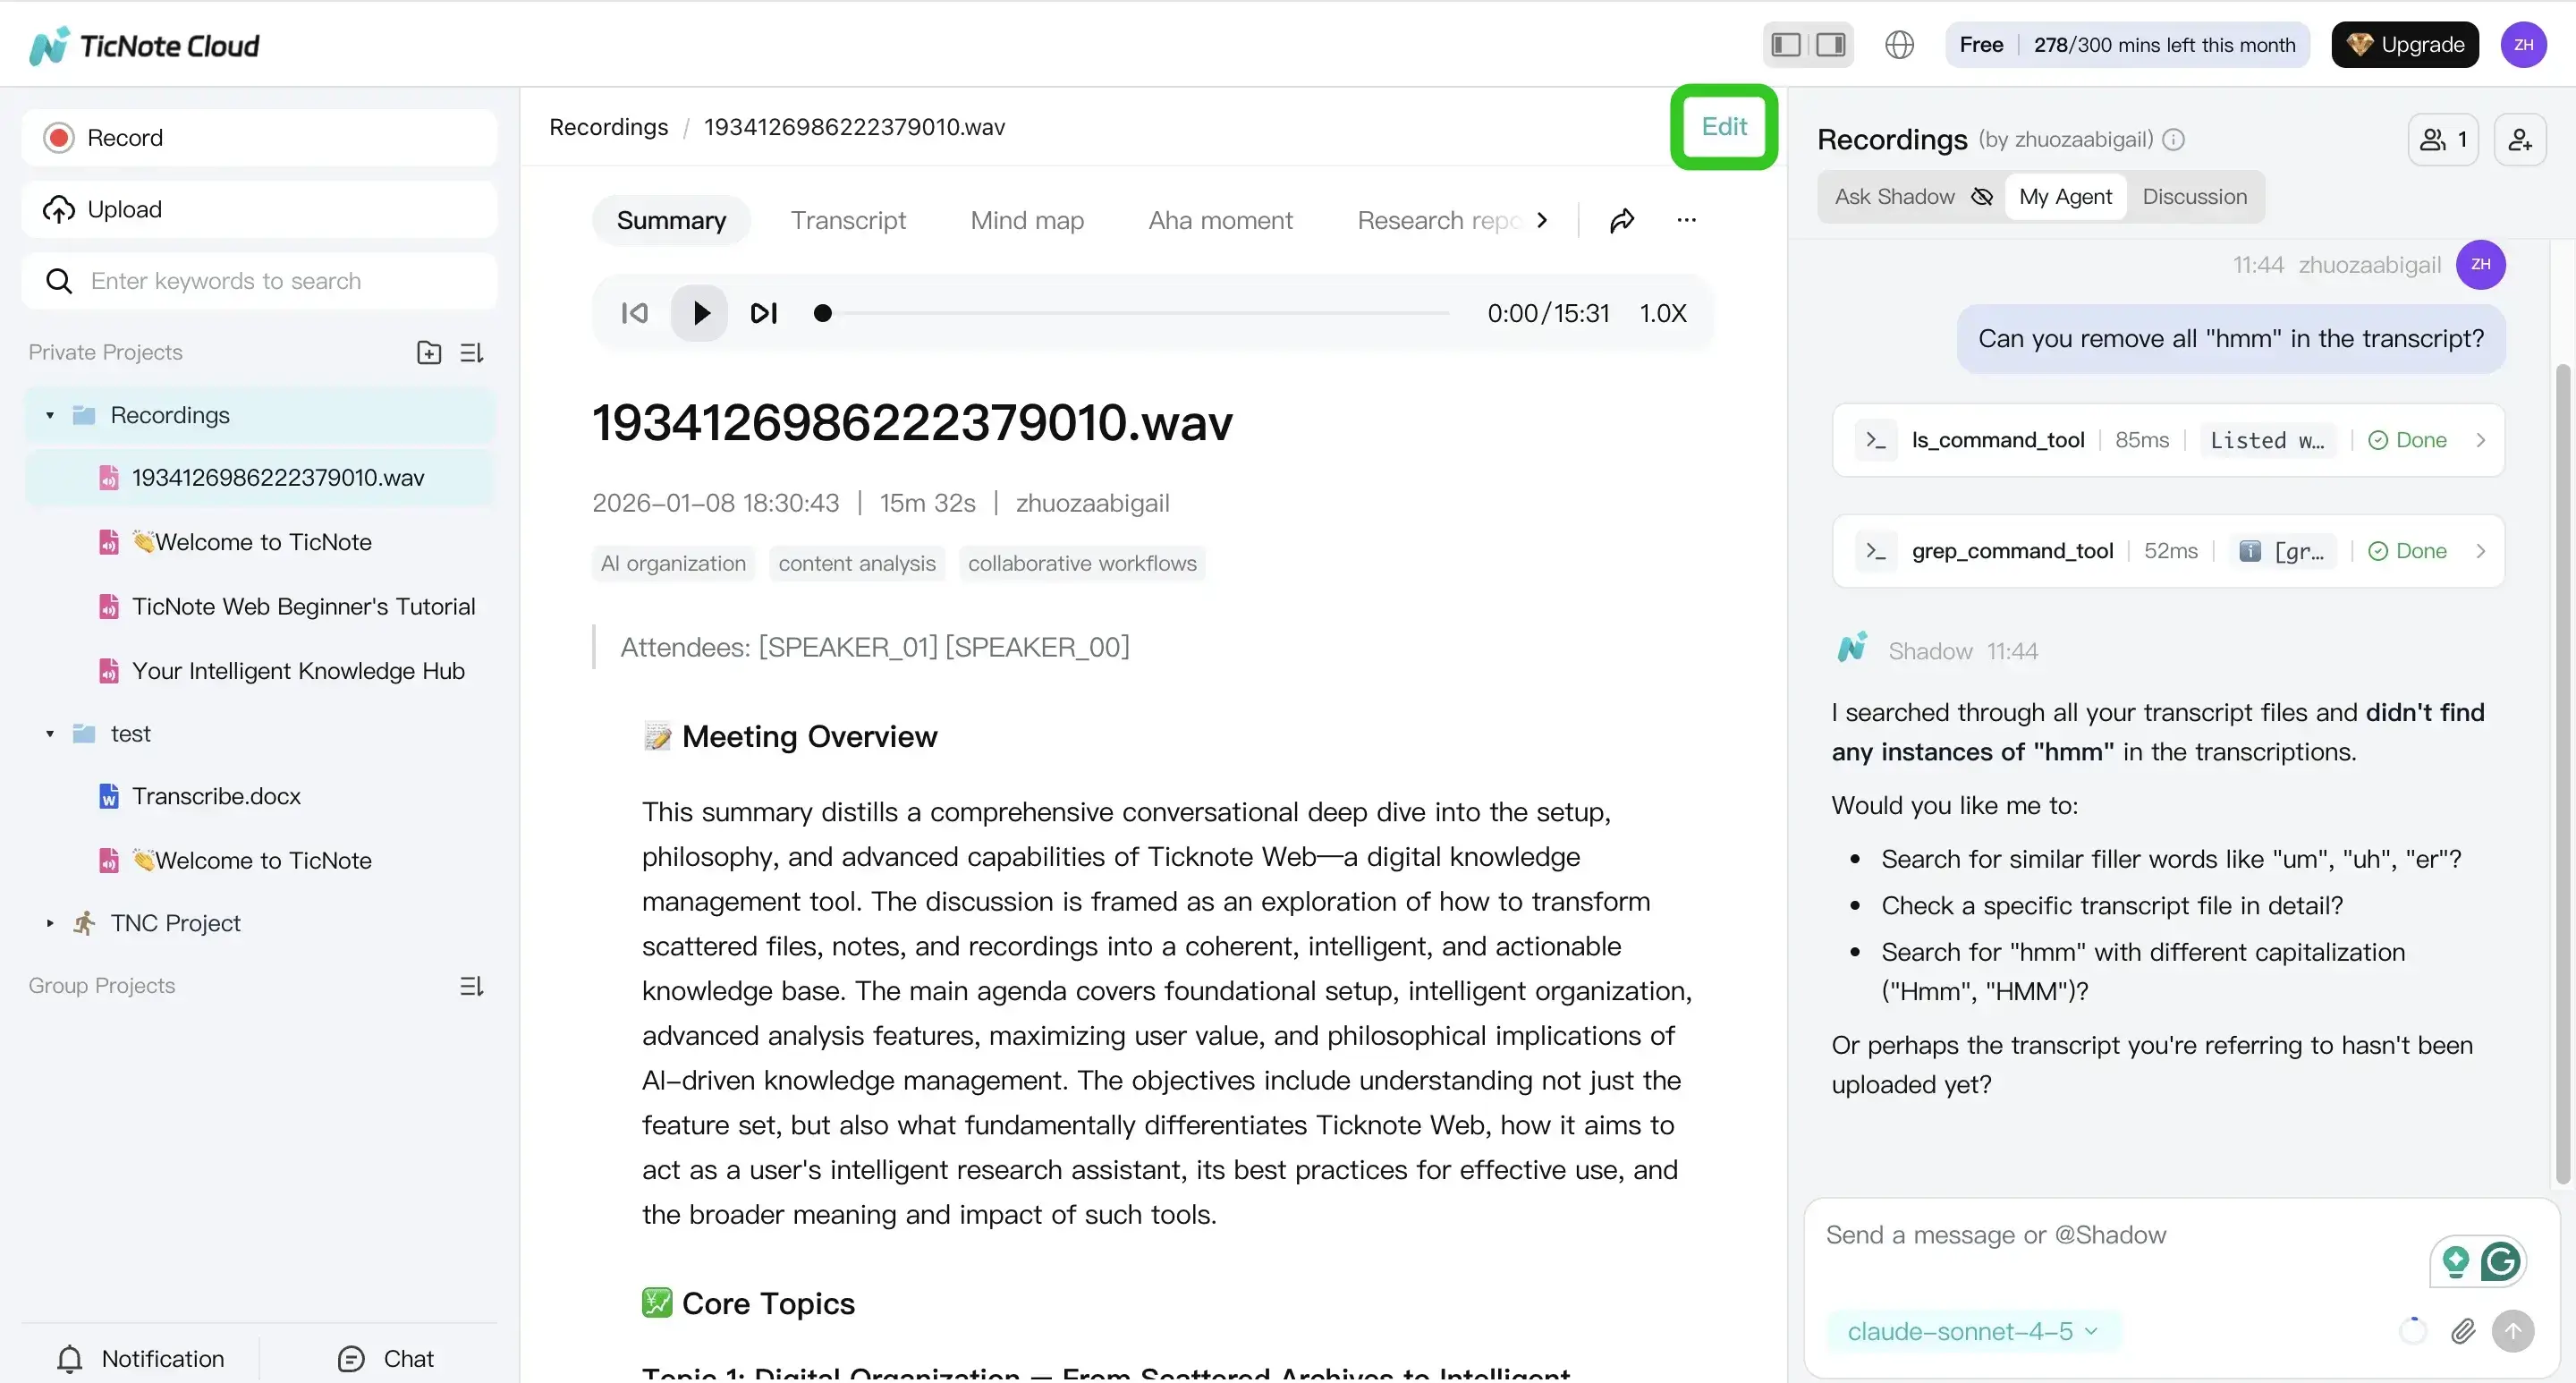
After the transcript reads cleanly, generate outputs that make it easier to share:
- A short summary for follow-ups
- A structured notes format for decisions and action items
- A translation when someone on the team needs another language
If you handle lots of calls, the biggest win is cross-file search and Q&A. Instead of opening 12 transcripts, you can search across them to find:
- Where a decision was made
- Who owns an action item
- When a person or product was mentioned
That's especially useful for assistants, PMs, sales, and researchers who need answers fast.
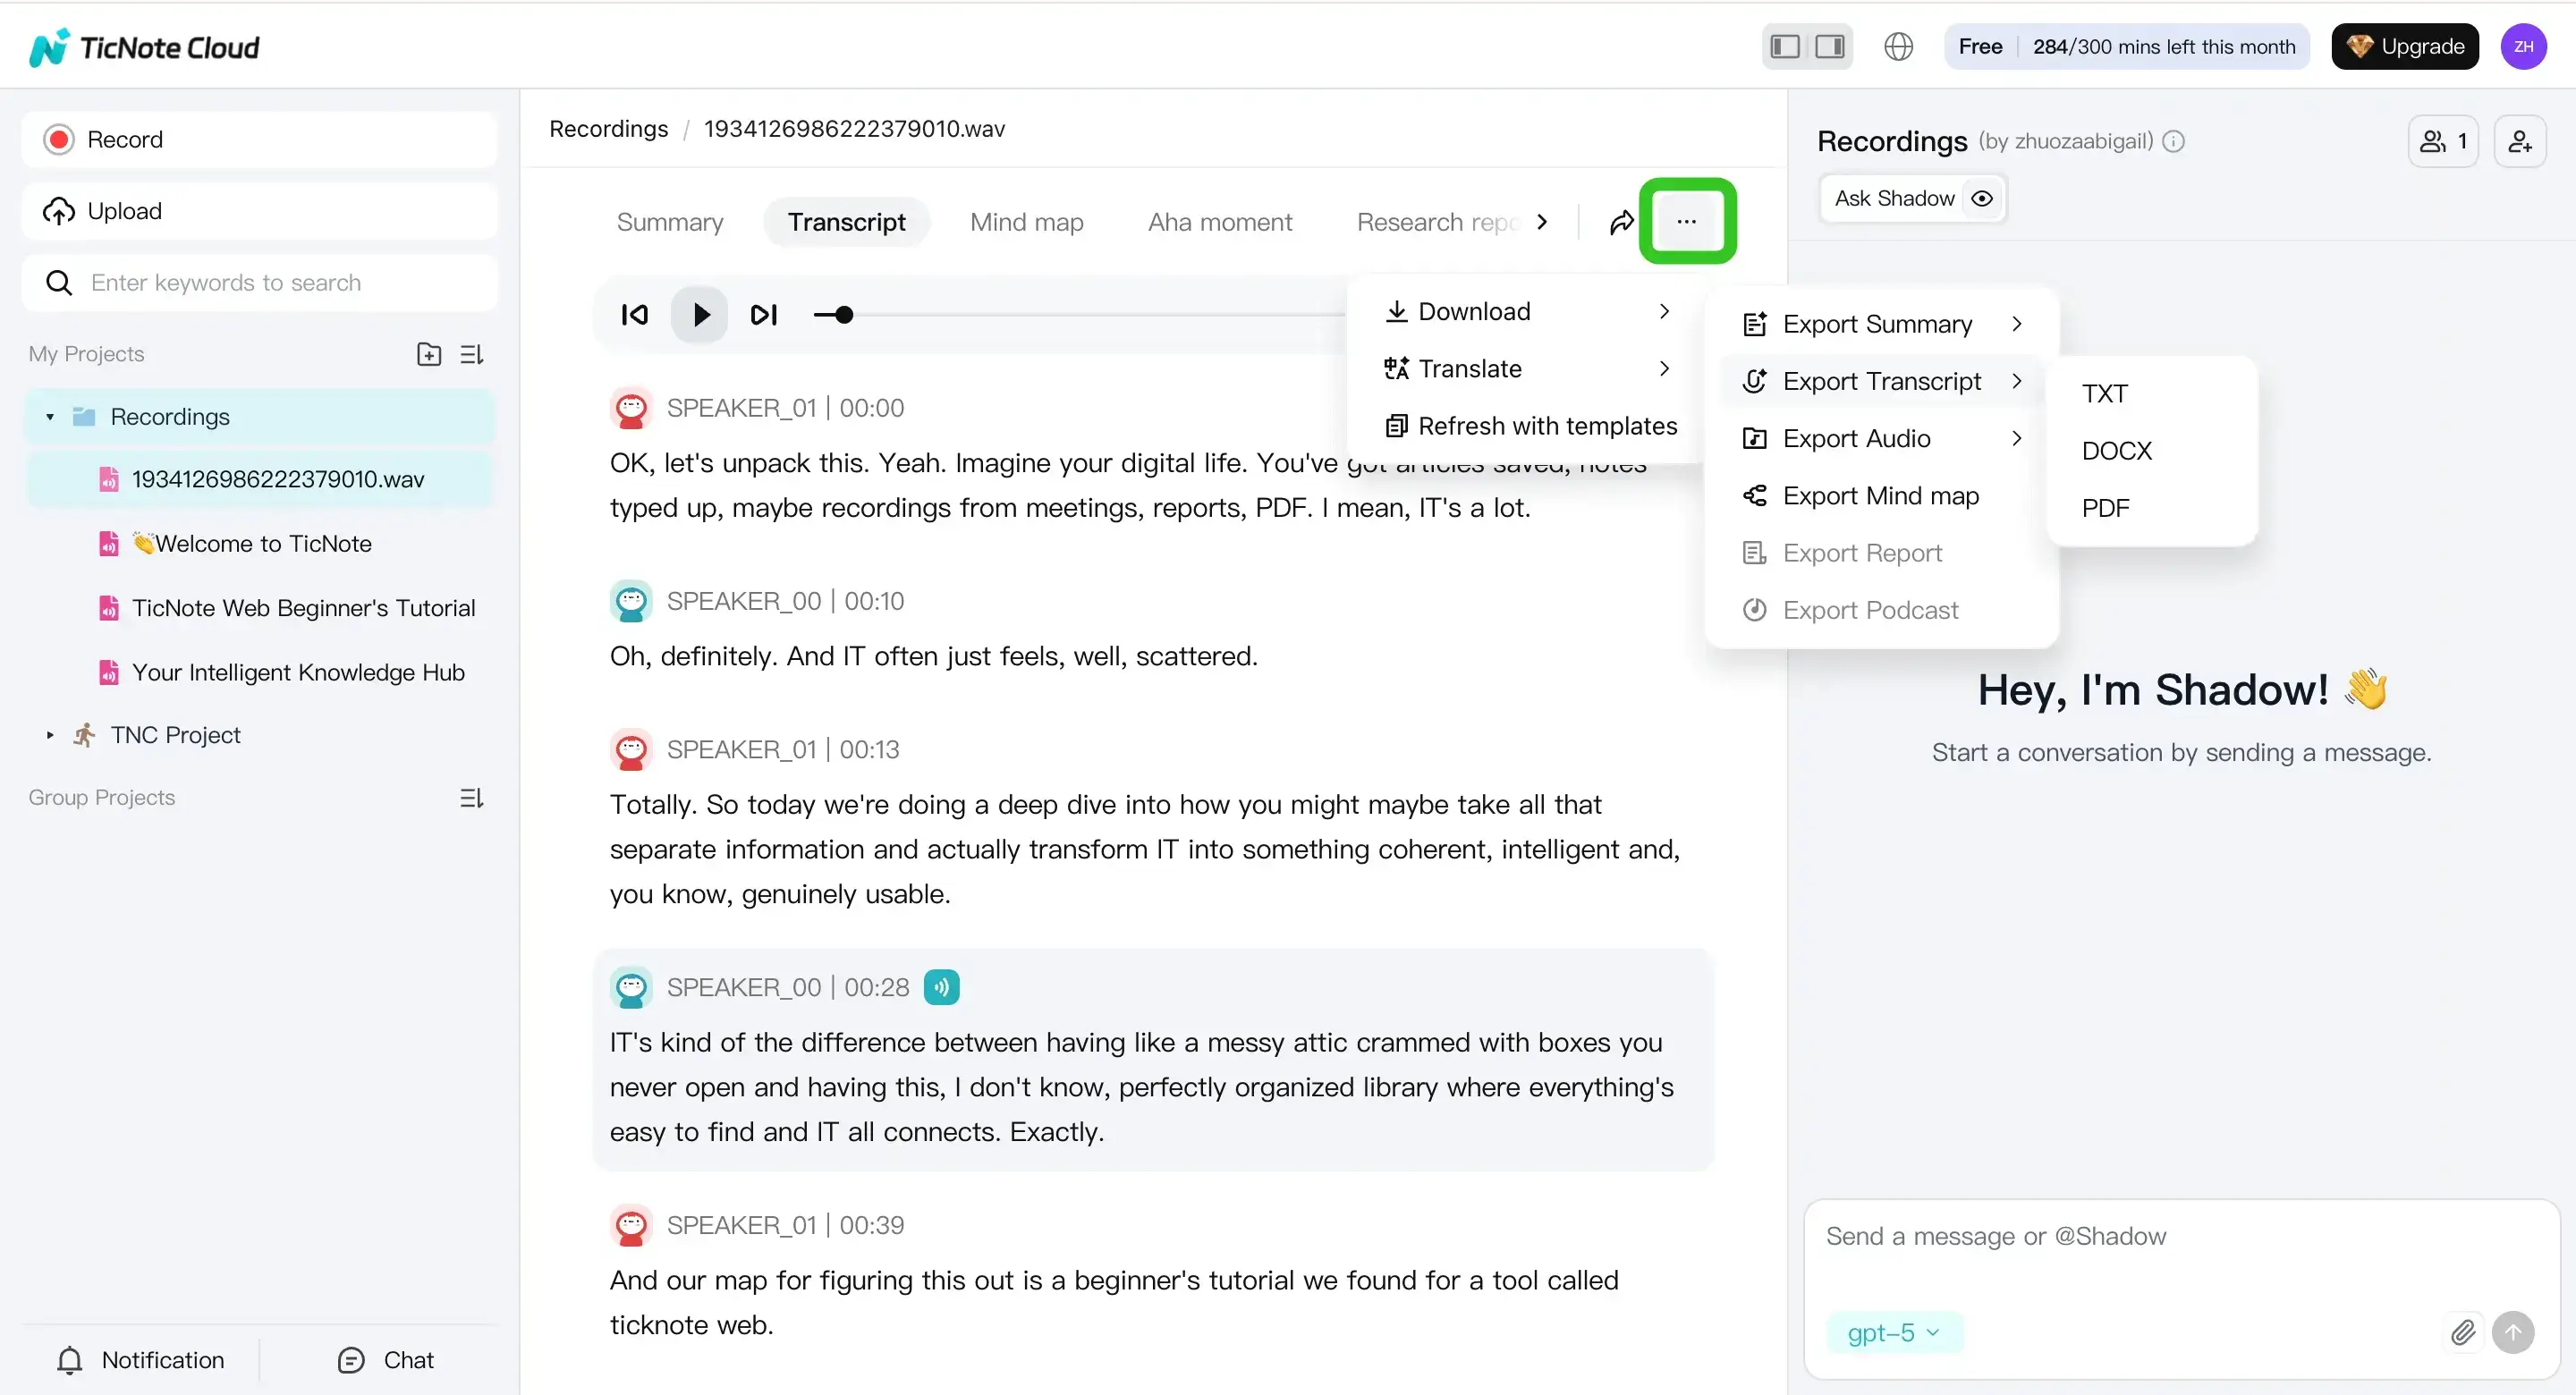
Export the transcript in common formats
Export after one last quick pass. Scan the first minute, a middle section, and the last minute. Make sure speaker names and key numbers look right.
To export, use the menu on your file: click the three dots button, then Download, then Export Transcript. Choose the format you need for sharing or archiving.
App workflow (mobile) overview
Mobile is great when you're away from your desk. For example: hallway interviews, field notes, quick voice memos, or lectures.
On the TicNote app:
- Tap the add button to upload a file or start a recording, and place it in a project.
- Open the file, choose the transcript option, set language and other fields, then generate.
- Edit if needed, then export from the menu.
Use the web studio when you need deeper organizing, faster editing, and a better view across many projects.
When this alternative makes sense (Google Docs limits vs. a dedicated workflow)
Google Docs is handy for quick, live dictation. But it has limits for real-world recordings.
- If you need to import a file directly: Google Docs has no direct MP3 upload-to-transcribe flow, so you end up using workarounds.
- If you need less cleanup: Voice typing often needs heavy manual fixes for punctuation, speakers, and missed words.
- If you need structure and reuse: Docs is a blank page, so you build your own system for summaries, translations, and searching across meetings.
TicNote Cloud maps to those gaps more directly:
- Upload transcription for audio and video files
- Built-in summaries and translation
- Project organization so notes stay findable
- Cross-file search and Q&A so you can locate decisions and action items across many transcripts